Here are 7 easy steps to make glow in the dark bongs: 1) Prepare materials like resin and glow powder. 2) Mix glow powder into resin evenly. 3) Pour the mixture into the mold carefully. 4) Allow it to set properly. 5) Remove the bong from the mold. 6) Sand and polish for a smooth finish. 7) Enjoy your unique glow in the dark bong creation. Mastering these steps will enhance your smoking experience with an added touch of creativity.
Key Points
- Choose high-quality resin for durability and luminosity.
- Mix glow powder and resin slowly for uniformity.
- Use epoxy resin with phosphorescent pigments for best results.
- Ensure proper curing time for maximum glow intensity.
- Finish with quality control for a flawless glow bong.
Prepare the Materials
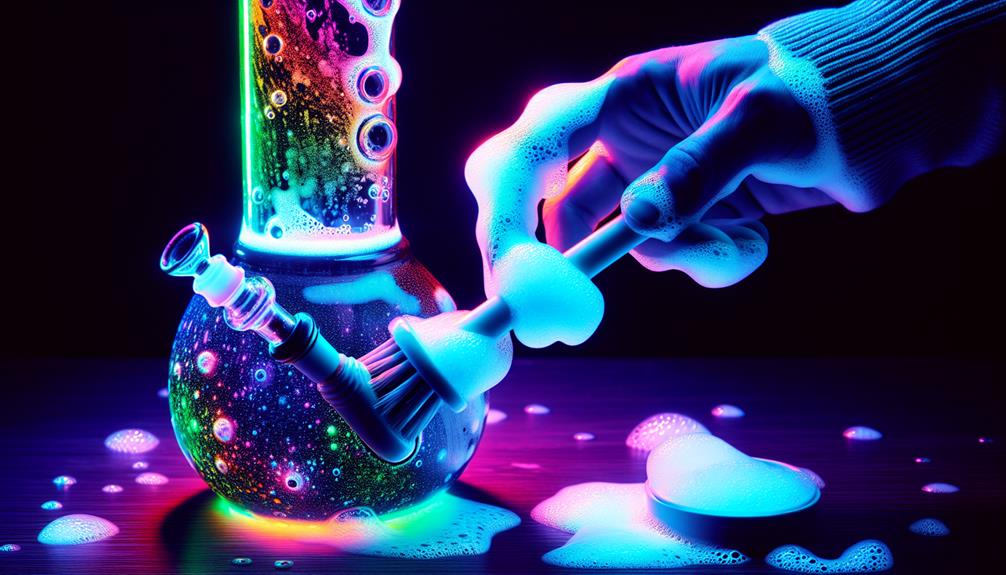
To begin making glow in the dark bongs, gather the necessary materials for the project. For material selection, choose a high-quality resin specifically designed for creating bongs. Make sure you have glow powder, which is available in various colors to suit your preference. Safety precautions are important, so wear gloves, a mask, and work in a well-ventilated area to avoid inhaling harmful fumes.
When it comes to mixing techniques, follow the resin manufacturer's instructions carefully. Measure the resin and hardener accurately to achieve the desired consistency. Thoroughly mix the components to ensure a homogenous blend before adding the glow powder. Stir the glow powder evenly into the resin mixture to guarantee a consistent glow effect throughout the bong.
After mixing, the curing process is essential for the resin to harden properly. Follow the curing time specified by the resin manufacturer, allowing the bong to cure in a dust-free environment. Once cured, your glow in the dark bong will be ready for use, providing a unique and illuminated smoking experience.
Mix Glow Powder and Resin
For best outcomes, thoroughly blend the glow powder into the resin to guarantee a uniform distribution of the glowing effect throughout the mixture. Glow powder uses vary, but typically, phosphorescent pigments are employed for their long-lasting luminosity. When incorporating the glow powder into the resin, make sure that you select a resin suitable for your project. Epoxy resin is commonly used due to its compatibility with glow powder and its ability to cure into a durable, clear finish.
To achieve an even dispersion of the glow powder, mix the resin and glow powder slowly and meticulously. A popular technique involves gradually adding the glow powder into the resin while stirring continuously to prevent clumping or uneven distribution. Take care to scrape the sides and bottom of the container to fully integrate the glow powder.
After mixing, allow the resin-glow powder mixture to rest for a few minutes to degas. This step helps eliminate air bubbles that may affect the clarity of the final product. The curing time of the resin will depend on the specific brand and type used, so refer to the manufacturer's instructions for best results.
Pour Mixture Into Mold
To begin the molding process, carefully pour the glow powder and resin mixture into the designated mold, ensuring even distribution.
Once the mold is filled, allow the mixture to set and cure according to the manufacturer's instructions.
Patience is key during this stage as the bong takes shape within the mold.
Mold Filling Process
When filling the mold, it's essential to guarantee a smooth and even distribution of the mixture to achieve best results. Proper mold maintenance is vital before pouring the mixture. Make sure the mold is clean, dry, and free of any debris to prevent imperfections in the final product.
Prior to filling, the glow powder application should be evenly spread throughout the mold to achieve consistent luminosity. Start pouring the mixture slowly and steadily from one end of the mold to the other. This technique helps in reducing air bubbles and ensures a uniform distribution of the materials.
Take care not to overfill the mold, as this can lead to spillage and uneven shapes. By following these steps meticulously, you can create a flawless glow in the dark bong.
Setting and Waiting
Once the mold is filled with the mixture, the next step involves allowing it to set and cure before proceeding further in the process of creating glow in the dark bongs. Patience is key during this stage as the curing process is vital for the bong to take its final form.
The setting time can vary based on the specific instructions of the materials used, so it's important to follow the guidelines diligently. Anticipation may build as you wait for the mixture to solidify and transform into the desired shape. Avoid the temptation to rush this step, as proper setting guarantees the durability and quality of the glow in the dark bong.
Once the curing period is complete, you can move on to the next exciting phase of the creation process.
Let It Set
Allow the glow in the dark paint to set for at least 24 hours before using the bong to guarantee maximum luminosity and durability. This waiting period is important as it allows the paint to fully cure and adhere to the surface of the bong. During this time, the glow intensity levels will gradually increase as the paint dries and reaches its best glow potential.
Remove From Mold
Now that your glow in the dark bong has set in the mold, it's time to carefully remove it.
Begin by cleaning the surface to guarantee a smooth finish.
Check for any imperfections and make necessary adjustments before finally polishing the edges for a professional look.
Clean the Surface
To clean the surface of the glow in the dark bong and remove it from the mold, carefully inspect the edges for any rough areas that may need smoothing out using sandpaper.
To prepare the surface, use a cleaning solution or rubbing alcohol to remove any dirt, dust, or residue. Gently scrub the surface using a soft-bristled brush or cloth to make certain it's clean and ready for the next steps.
Rinse the bong thoroughly with water and allow it to dry completely before proceeding with any further customization or decoration.
Check for Imperfections
Inspect the glow in the dark bong for imperfections and meticulously remove it from the mold to guarantee a smooth surface for further customization. This step is important for quality control and ensuring the final product meets your standards.
Begin by carefully examining the bong for any irregularities, such as air bubbles or rough edges. If imperfections are found, delicately sand or trim them away to achieve a flawless finish. Pay close attention to details during this inspection to avoid any issues in the final steps of the process.
Polish the Edges
To achieve a flawless finish, carefully polish the edges of your glow in the dark bong after removing it from the mold. Edge finishing is essential not only for the aesthetics but also for the functionality of your bong. Follow these steps for a perfectly polished edge:
- Inspect the Edges: Before polishing, inspect the edges for any rough spots or imperfections.
- Use Sandpaper: Start with a coarse grit sandpaper to smooth out any rough edges.
- Switch to Finer Grits: Gradually move to finer grits of sandpaper for a smoother finish.
- Finish with a Polishing Compound: Apply a polishing compound to give the edges a glossy shine and enhance the overall appearance of your glow in the dark bong.
Sand and Polish
Begin the sanding and polishing process by using fine-grit sandpaper to smooth out any rough edges on the surface of the glow in the dark bong. Utilize circular motions while sanding to guarantee evenness in the finish. After sanding, proceed with polishing the bong to enhance its appearance and give it a glossy look. To achieve a professional polish finish, use a polishing compound and a soft cloth to buff the surface of the bong in a gentle, back-and-forth motion.
When sanding, be cautious not to apply too much pressure, as this can damage the bong's surface. Aim for a smooth and level finish by gradually working through different grits of sandpaper, starting from a coarser grit and moving towards a finer one. This method ensures a seamless shift between sanding and polishing stages, resulting in a flawless glow in the dark bong ready for the next steps of glow powder application and resin mixture ratios.
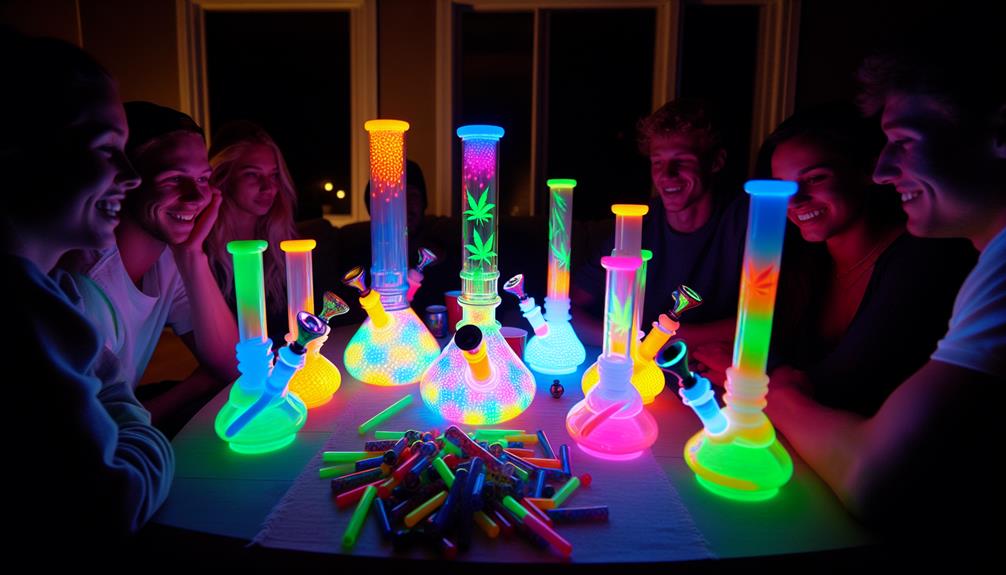
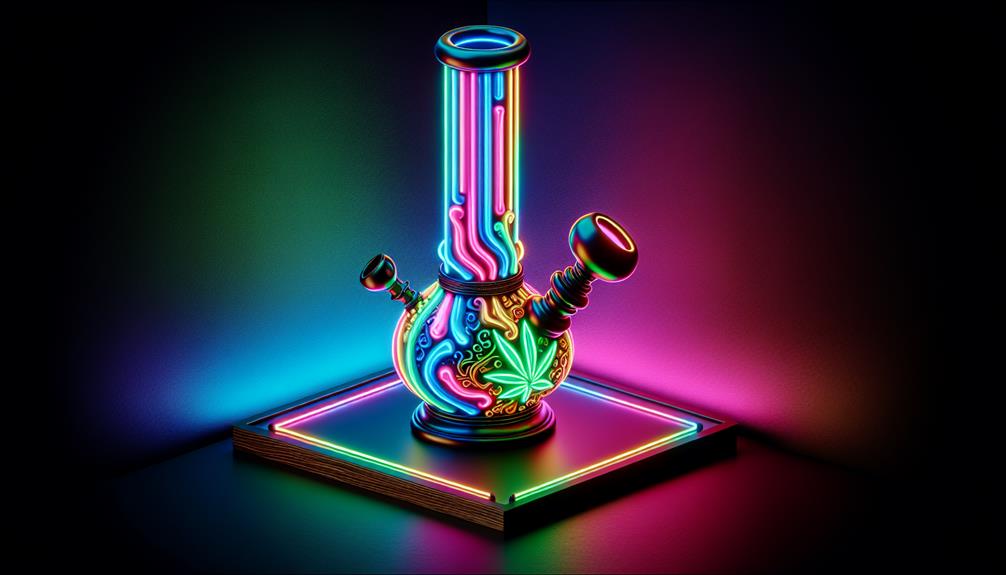
Enjoy Your Glow in the Dark Bong
Prepare to elevate your smoking experience with the mesmerizing glow of your newly crafted glow in the dark bong. Here are some tips to help you make the most of your glowing accessory:
- Glow Party Ideas: Take your next smoke session to the next level by hosting a glow party with friends. Dim the lights, set up some glow sticks, and watch your bong shine in the dark, creating a unique and exciting atmosphere.
- Bong Accessories: Enhance your bong with accessories like ash catchers, percolators, or even a customized glow bowl. These additions can improve your smoking experience and make your bong stand out even more during your glow parties.
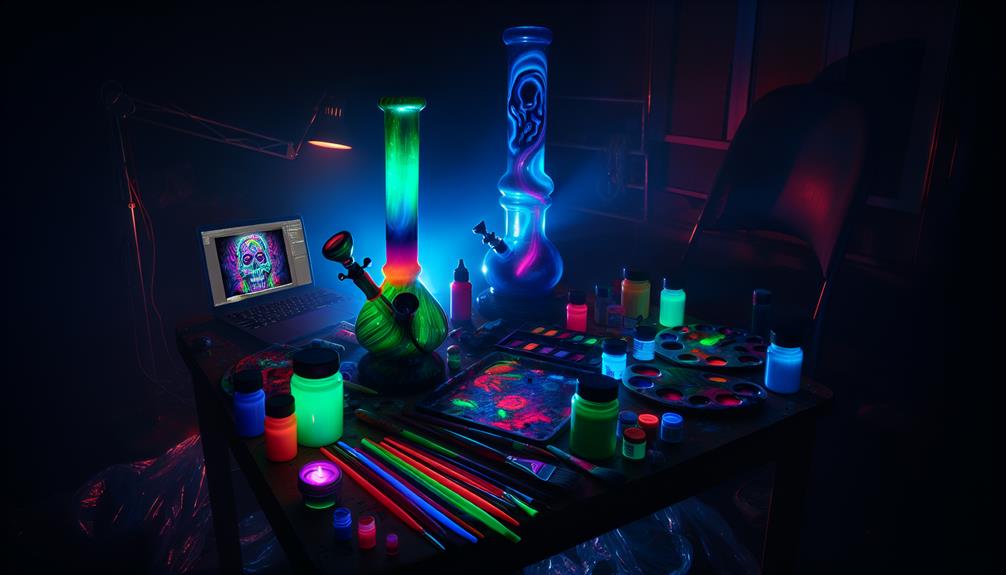
- DIY Glow Projects: If you enjoyed making your glow in the dark bong, why not try other DIY glow projects? From glowing mason jars to illuminated coasters, the possibilities are endless for creating more glowing items to complement your bong.
- Smoking Essentials: Don't forget to stock up on smoking essentials like high-quality herb, lighters, and cleaning supplies to make sure your smoking sessions are always enjoyable and hassle-free.
Frequently Asked Questions
How Long Does the Glow Last After Charging?
After charging, the glow duration of glow-in-the-dark bongs can vary depending on the quality of the materials used and the charging time. Typically, the glow can last for several hours before gradually fading.
The charging time needed for a longer-lasting glow varies, but generally, exposing the bong to light for a few minutes can provide a decent glow duration. Different colors may also affect the glow intensity and how long it lasts.
Can the Bong Be Washed in a Dishwasher?
If you're wondering about dishwasher compatibility for your glow-in-the-dark bong, it's best to avoid it. The high temperatures and harsh detergents in dishwashers can damage the glow-in-the-dark material.
Instead, opt for gentle hand washing with mild soap and water. This guarantees the longevity of the glow intensity and prevents any charging time setbacks.
Following proper cleaning methods will help maintain your bong's glow and keep it in top condition for many sessions to come.
Is the Glow Safe to Inhale While Smoking?
When it comes to glow safety and health, inhaling the glow from a bong raises concerns about potential risks. The chemicals used to make items glow in the dark may release harmful fumes when heated.
Inhaling these fumes while smoking could pose health risks. It's important to prioritize your well-being and avoid exposing yourself to potentially harmful substances.
Always consider the safety implications of using glow-in-the-dark materials in smoking devices.
Can the Bong Be Used for Hot or Cold Beverages?
You might find it amusing that the glow-in-the-dark bong can indeed be used for both hot and cold beverages.
However, it's important to take into account your temperature preferences as extreme heat might impact the glow intensity over time.
It's best to stick to beverages within a moderate temperature range to guarantee the longevity of the glowing effect.
Balancing your thirst for a cool or warm drink with the bong's glow capabilities is key.
How Should the Bong Be Stored to Maintain the Glow?
To maintain the glow of your bong properly, store it in a cool, dry place away from direct sunlight. Excessive heat can degrade the glow material, affecting its luminosity.
Avoid storing it in a humid environment, as moisture can damage the glowing properties. Keep the bong clean and free from any residue, as this can also impact its glow.